
When it comes to your retail merchandise, making your custom jewellery boxes can be of very great importance. It could be that these boxes make your fine jewellery unique from any other people in the world because they bear your personal touch.
Also, such boxers improve how dapper your collection looks and increase its value in the eyes of potential buyers.
This manual will walk you through creating tailor-made packages for high-end collectables or giving clients various customizable choices.
So, let’s get started.
Materials and Tools
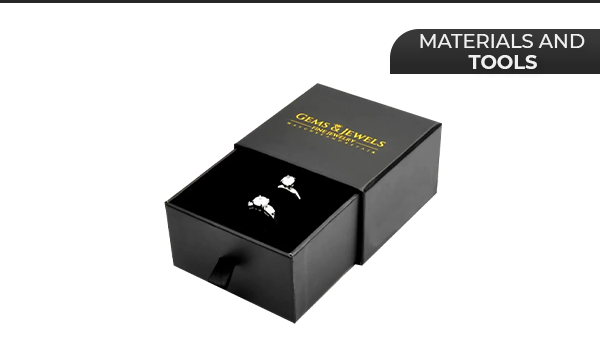
Ensure you have the tools and materials you need before you start. You will need the following:
Materials
- Wooden box or cardboard box
- Decorative paper or fabric
- Paint and brushes
- Decoupage glue or Mod Podge
- Sandpaper
- Foam or velvet for lining
- Jewellery box hardware (hinges, clasps)
- Adhesive (wood glue or strong craft glue)
- Embellishments (beads, rhinestones, stickers)
Tools
- Scissors
- Craft knife
- Ruler
- Pencil
- Screwdriver
- Hot Glue Gun (Optional)
Step-by-Step Tutorial
Step 1: Choosing the Base
You can use different types of materials as a base when designing your jewellery boxes. For example, wood is one such material; it is ideal in terms of quality and durability and gives them a premium touch. Strong cardboards, an alternative, offer varied uses without being expensive at all.
Step 2: Preparing the Box
The surface of your box must be prepared. Wooden boxes require sanding before they can be painted or decorated. Cardboard boxes must also be free from dirt and any other foreign material.
Step 3: Painting the Box
Paint the outer part of the box with the colours of your brand. Acrylic paint is ideal for wood or cardboard.
Step 4: Decorating with Paper or Fabric
Accurately measure the top and sides of your box and then trim a decorative paper or fabric to match these measurements, being sure to leave a slight overhang.
Spot a small amount of glue or Mod Podge on the surface and then lay down your paper or fabric piece, ensuring no creases or bubbles. Allow it to dry completely. Specifically, this stage will aid in creating a branded package.
Step 5: Adding Embellishments
Use beads, rhinestones, stickers, or custom tags to enhance the look of your jewelry box that is specific to your brand. Each box can be personalised in this way. Make sure they are securely in place by attaching them using a strong adhesive.
Step 6: Installing Hardware
The jewellery box should have its hinges and clasps securely installed if it requires one. Now get pencil markings on its back part as well as the lid while at the same time attaching screws using a screwdriver.
Then, fasten a clasp at its front end so it cannot open by itself. By doing so we will also make it safer to pack it with things like trinkets.
Step 7: Lining the Interior
Put some foam or velvet on the inside of the custom jewellery box to provide a luxurious feel and protect the jewellery from scratches. Carve the inside dimensions to fit the foam or velvet, then paste them with wood or craft glue.
Step 8: Creating Compartments (Optional)
To provide extra value, consider separating the box into compartments. The dividers are created by cutting pieces of cardboard or slim wood. These dividers could be covered in cloth or painted so they blend with the inside parts of a box.
This way, individual segments, ideal for varying kinds of jewellery pieces, can be formed by gluing them together and can allow customers to sort their wares.
Step 9: Final Touches
Examine the jewellery box for any edges or areas that need improvement. Add any final touches or touch of colours to make sure it looks neat, polished, and professional.
Learn More: 10 Unique Ways to Use Wedding Gable Boxes for an Unforgettable Celebration
Creative Ideas for Custom Jewellery Boxes
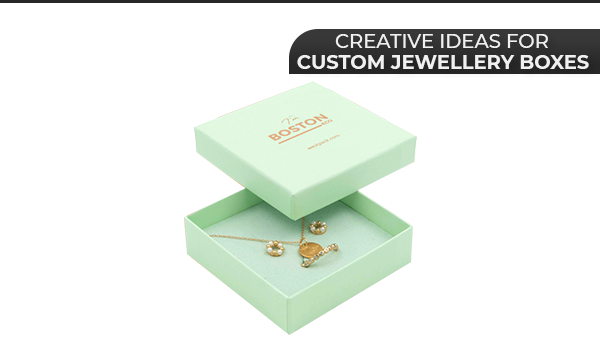
Personalized Jewellery Box Ideas
Branding
Do not neglect to add your shop’s emblem, branded colours, or tagline to strengthen your business’s personality.
Customer Names
Offer a service, which is adding customer names or initials, thereby making it personal.
Special Themes
Create packages for unique moments like vacations, weddings, or anniversaries.
Handmade Jewellery Box Design
Rustic Charm
Use distressed wood techniques and vintage hardware to create a rustic aesthetic to attract consumers who like this style.
Modern Elegance
Use smooth, metallic colours and minimalist design to appeal to buyers who prefer modern trends.
Bohemian Style
Appeal to a bohemian market by using vivid hues, complicated designs, as well as diverse decorations.
DIY Jewellery Storage Solutions
Drawer Inserts
Design inserts specifically for the drawers of your jewellery furniture that can slide into them with ease; it is an extra benefit for your clients.
Travel Jewellery Box
Design a small cushioned box strictly for travel, and provide a solution that can be used.
Hanging Jewellery Box
Make boxes that hold necklaces and bracelets mounted like walls; this will save customers room.
Tips for a Successful Custom Jewellery Box
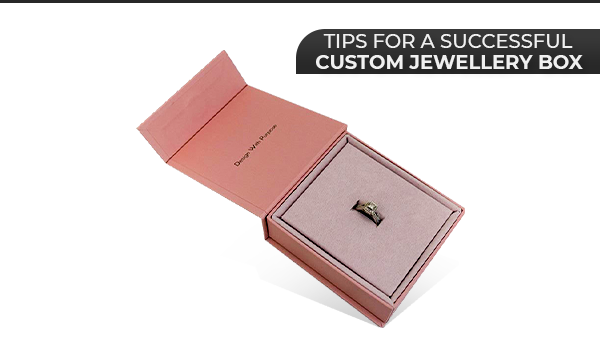
Plan Your Design
Jot down your design ideas to ensure they resonate with your brand aesthetics and consumer tastes.
Take Your Time
Allow the paint and glue to dry completely between the steps to avoid smudges and guarantee durability.
Experiment with Techniques
Use different painting methods, like sponge painting or creating designs with stencils, to make your boxes stand out.
Use Quality Materials
Ensure that your jewellery boxes are durable and look professional by investing in quality materials.
Practice Safety
Be safe using tools such as exacto knives and a glue gun to avoid injuries.
Conclusion
Retailers can delight customers and increase product offerings by creating unique jewellery boxes. These boxes will make opening them for your clients an unforgettable experience. Following this step-by-step guide, you can create beautiful, customized jewellery boxes that mirror your brand and address customer needs.
You can use them in normal sales or special adverts to raise the worth of jewel businesses through customer satisfaction. Start crafting your unique jewellery boxes today and watch your brand loyalty grow!
Whether you’re looking for inspiration or ready to start designing, Stampa Prints offers the tools and expertise to bring your vision to life.
FAQ’s
Q1. What are some alternative materials to wood and cardboard for making jewellery boxes?
A unique feel can be achieved using acrylic, metal tins, or recycled containers.
Q2. How can you ensure the longevity of your custom jewellery box?
Seal paint and decorations with a clear protective coating to maintain the quality of the materials used.
Q3. What are some environmentally friendly options for creating custom jewellery boxes?
Utilize materials that are either recyclable or recycled; avoid using toxic paints; stick to glues that do not harm the environment.
Q4. How can you make a custom jewellery box suitable for travel?
Create a small box with robust fastenings and cushioned insides to safeguard ornaments from being destroyed when they are being moved.
Q5. What techniques can add texture to a jewellery box?
Options like embossing, engraving and application of textured fabrics may improve how the surface of the box looks and feels.